
Alpha Drive - Quick Start Guide Installation
QUICKSTART SDES, Revision 001
What is included
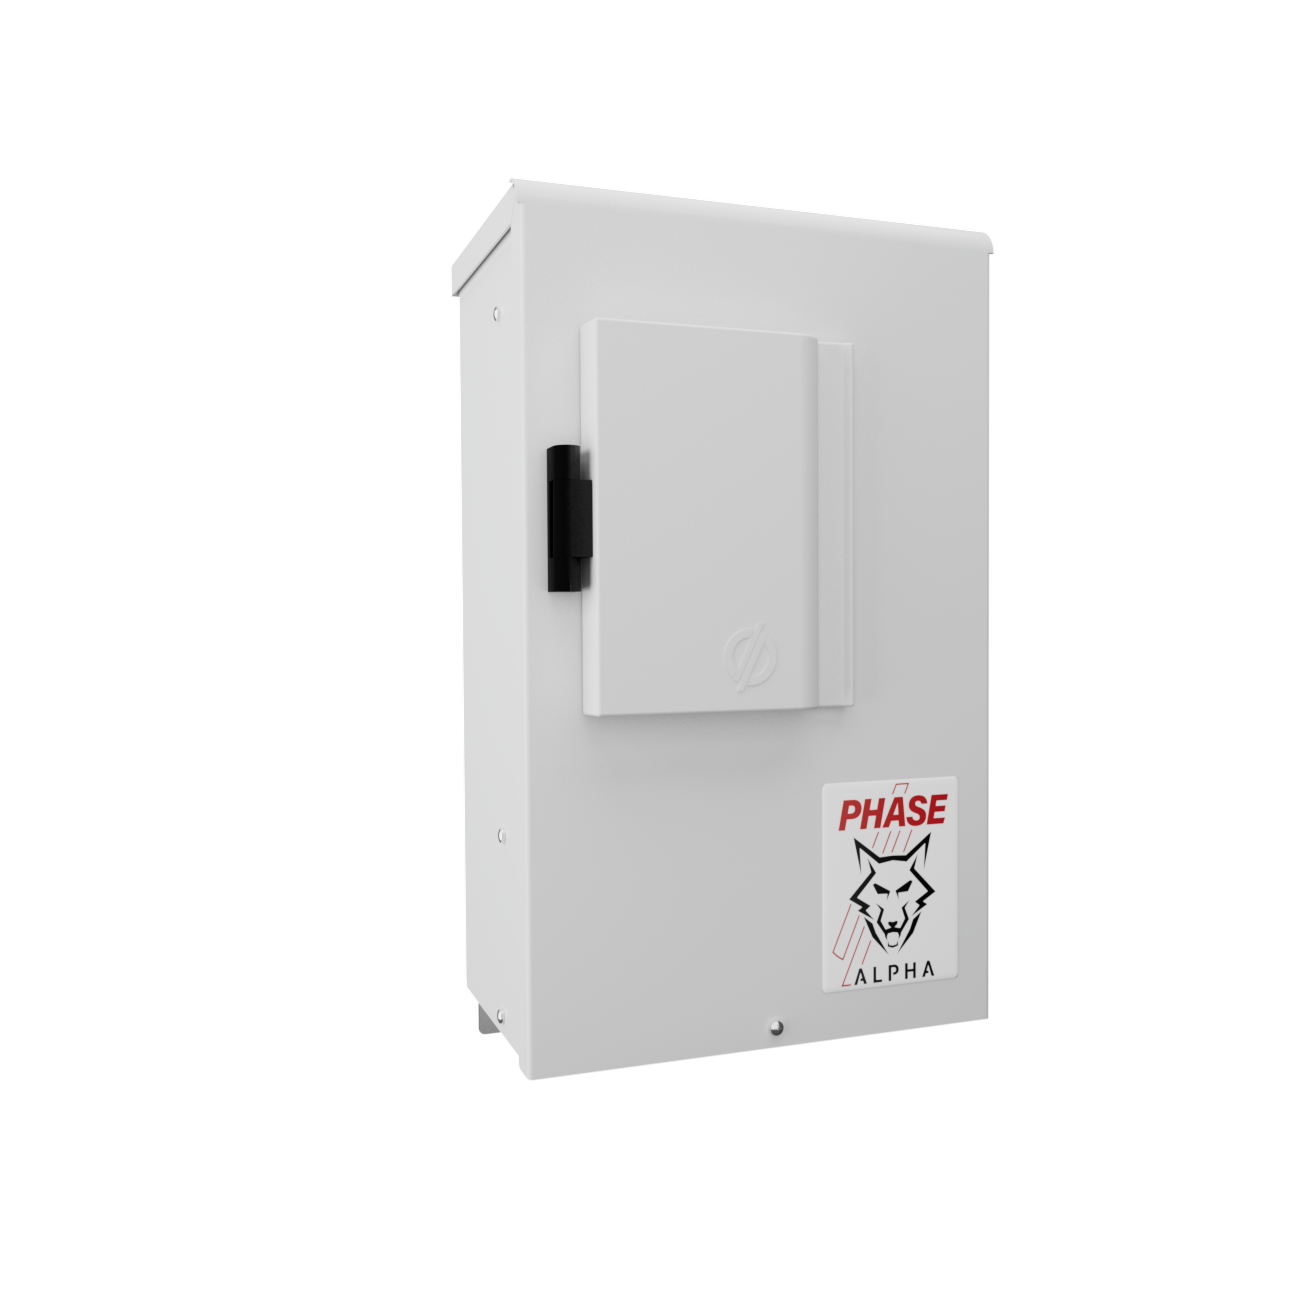
Mounting the VFD
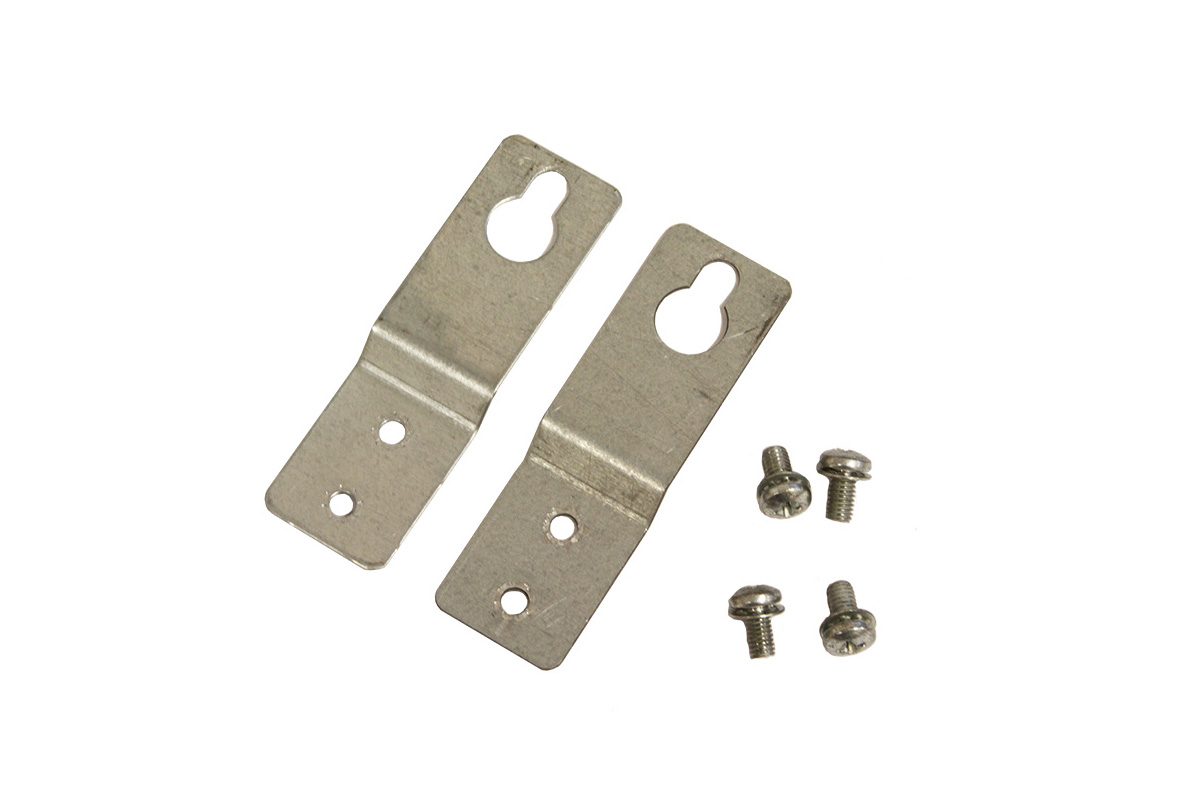
- (Optional) Fasten mounting brackets to back of enclosure with supplied screws.
- Install fasteners to wall 7.5" (190mm) center to center. Max fastener size 1/4".
Note: 18" (450mm) clearance below and 6" (150mm) around required for ventilation.
Connect Wiring
- Remove (4) front screws and remove cover.
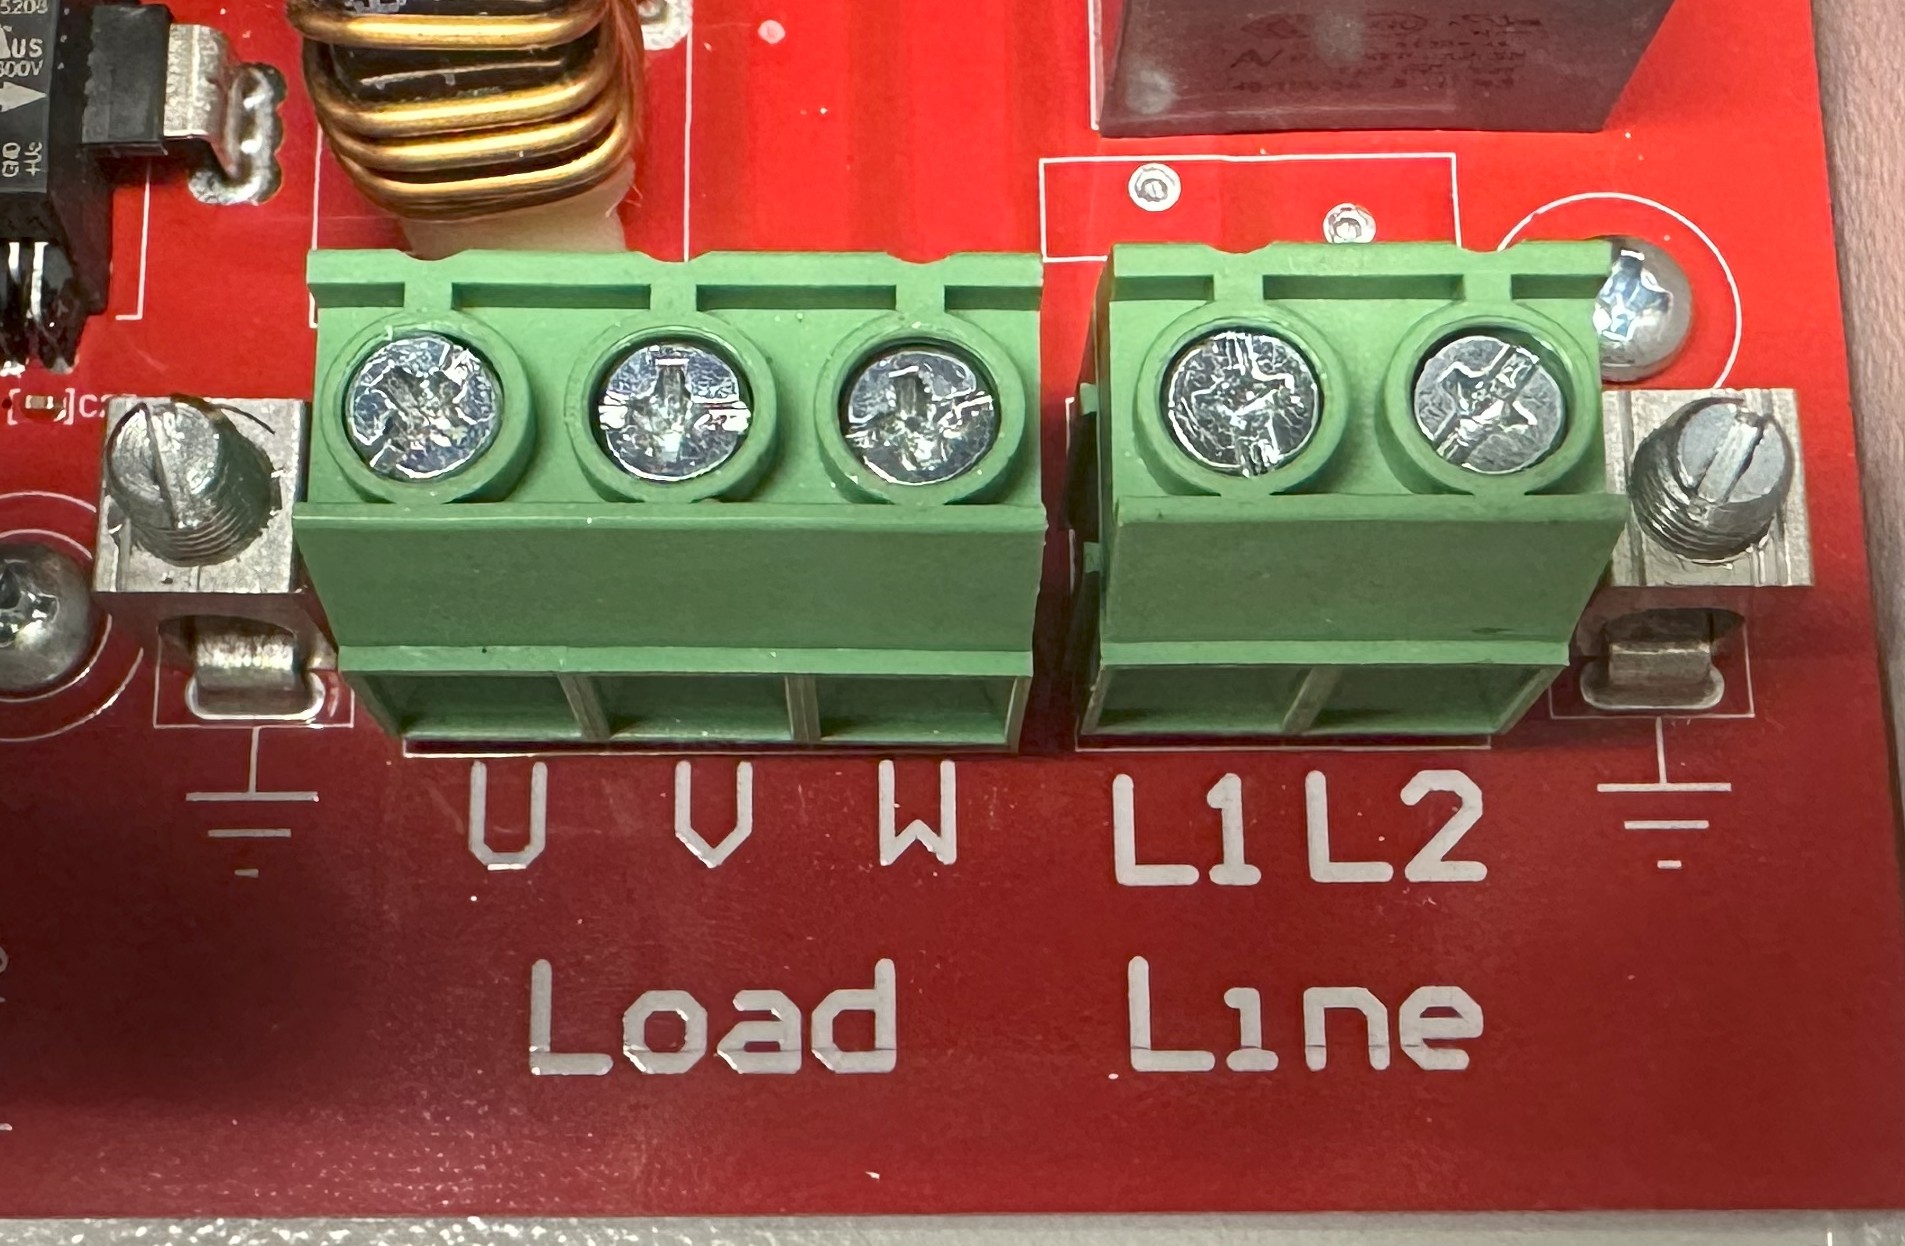
- Connect power leads to the Line terminal block.
-
Connect motor leads to the Load terminal block.
Caution: Crimp or solder (NO WIRE NUTS)... -
Secure the ground wire into the lug marked with the ground symbol.
Note: 4ohms or less to earth ground recommended ground symbol
-
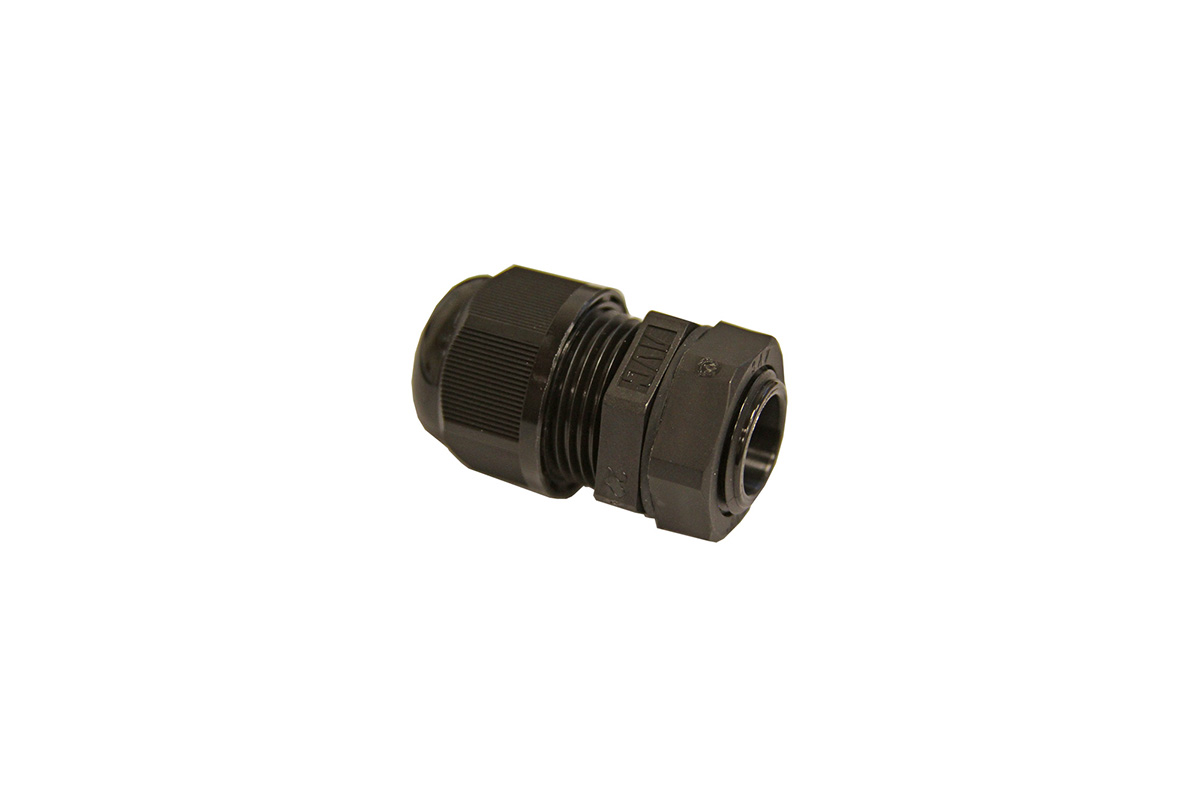
Install transducer into a 1/4” NPT non-metallic fitting and run the wire back to the VFD...
Note: DO NOT coil, ground shield, or run next to motor leads. Cross only at 90°. Caution: Do not over tighten cord grip. - Install the Black wire into the spring-loaded I1- terminal and the remaining White or Red wire into the I1+ terminal.

Powering up the VFD
WARNING: High voltage. Have a licensed electrician install this product.- Replace the cover securely and then enable power to the VFD.
-
Press HOME to skip setup or YES (ENTER) to launch Perfect Pressure wizard.
Note: Hold BACK + ENTER for 3s to reset VFD to defaults.
Optional: Connect overpressure or float switch to AUX2 and COM.
Caution: No voltage may be introduced on these terminals.
| Alpha Wiring Setup | |
|---|---|
| Terminal | Description |
| V, W | 2-wire motor, 3-wire motor, 1 phase motor |
| U | Start winding |
| V, W | Motor winding |
Warranty Registration
or Download
Alpha Drive Manual
phasetechnologies.com/support/ad
or Download
Alpha Drive Manual
